Building A DNS Server With Raspberry Pi
Posted August 13, 2023
By Kevin Schwickrath5 min read
Overview
Building on last week’s project I’m going to add a DNS server to my Project Pi. This is replacing an existing Pi 3B already running the service.
🐘 𓃰
Will running DNS service affect my time server on the Pi? Probably. The Pi is never going to be atomic clock accurate. I’ve accepted it.
Hardware
I used the following hardware:
- Raspberry Pi 4B 8GB
The 4B 8GB is overkill for the task. It is what I have. I’ve accepted that too.
Installing Raspbian
The easiest way to install Raspberry Pi OS is to use the Raspberry Pi Imager. I used Raspberry Pi OS Lite (64-bit) for this project. For brevity I won’t cover the installation of Raspberry Pi OS. You can find help installing the OS on the download page.
Network
I prefer wired networking for NTP servers, so I won’t cover Wi-Fi. I’m sure you can run your server over wireless if you’re determined. One thing you should do here is set a static IP. I accomplish this in my DHCP server. You can also do the same by modifying the Pi.
Edit the configuration file /etc/dhcpcd.conf.
sudo vi /etc/dhcpcd.confInsert your config lines:
interface eth0static ip_address=192.168.0.2/24static routers=192.168.0.1static domain_name_servers=192.168.0.1Reboot the Pi or restart networking to have the changes take effect.
service networking restartUpdates
Update Raspberry Pi OS with following commands and reboot. Press “Y” when it asks otherwise you won’t install any updates.
sudo apt updatesudo apt upgrade
sudo reboot
Install Pi-hole
The Pi-hole project has some easy to deploy scripts in the docs. The first one is a non-starter for me. I’m sure everything is on the up-and-up here, but I’m not going to pipe someone’s script to bash without a hash or looking it over. I opted for Alternative 2, manually downloading the installer.
wget -O basic-install.sh https://install.pi-hole.netLet’s look this script over. less is a neat little program for looking at a file’s contents. It has commands similar to vi.
less basic-install.shI usually just skim things over, look for options I can set, and check for common connections to the internet. curl, wget, http, etc. At some point you need to give in and have faith the script will do what is advertised, nothing more. This is The X-Files: I Want to Believe…
Let’s get the installer going. We will install with following:
sudo bash basic-install.shHit OK and OK. Feel free to donate.
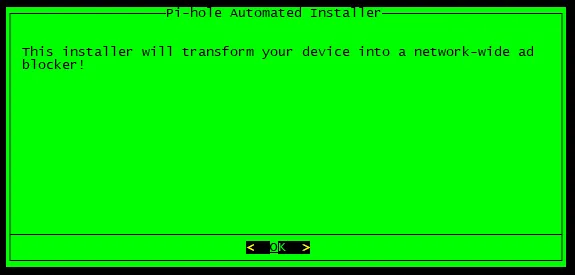
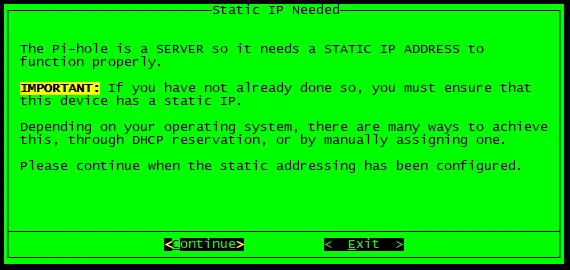
Hit Continue. We have some options later if you skipped the above.
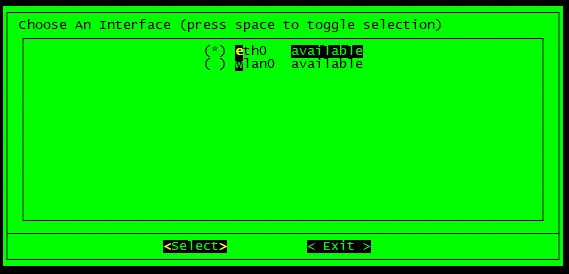
Set your interface. I’m using eth0
If you’re not statically setting your IP hit Yes. No point in having a DNS server if it bounces around your network.
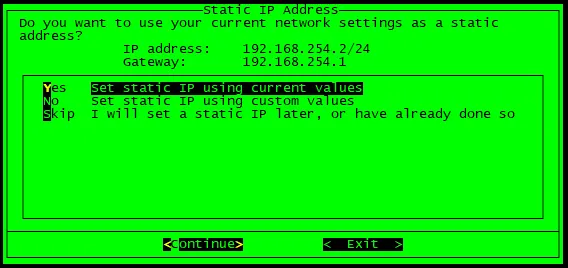
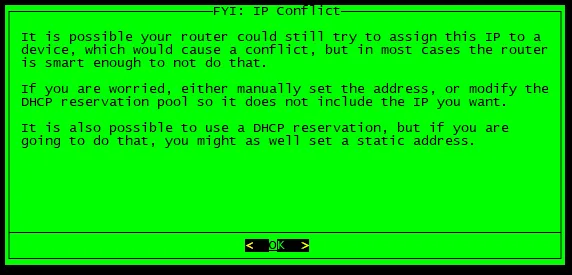
If you do hit Yes to the previous question, this message is letting you know some routers are dumb and don’t check or care if an IP is in use.
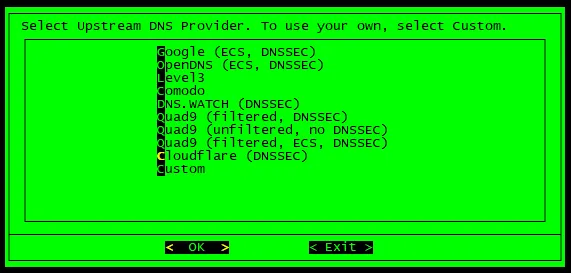
Picking your DNS servers.
I like Cloudflare for Families. For now I’m going to select the Cloudflare DNSSEC option.
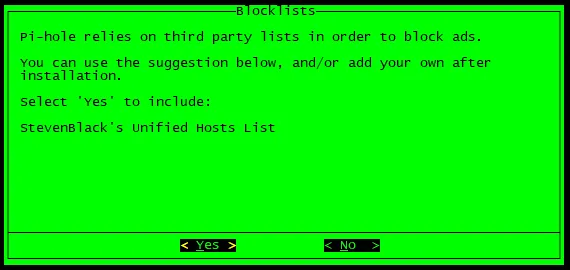
This loads a default blocklist. More on this topic below.
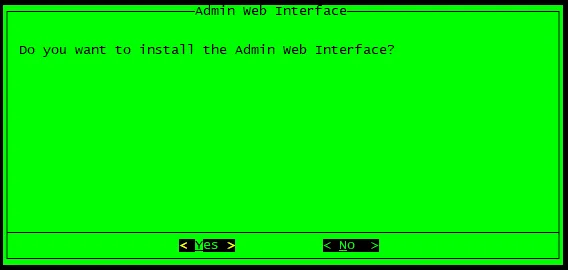
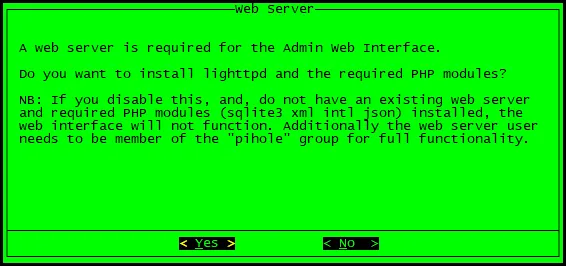
The Admin Web Interface isn’t required, but it is nice. Select Yes.
Select Yes to install the web server.
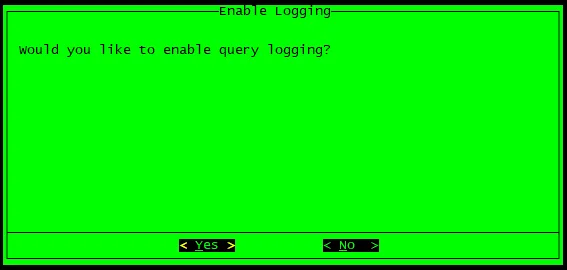
Select Yes to enable query logging.
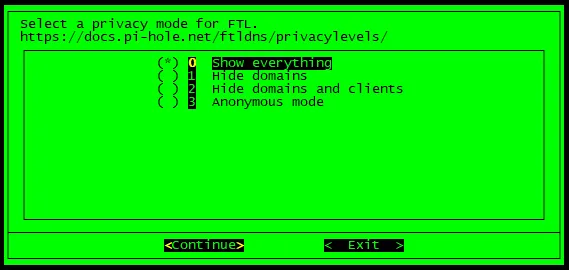
I select Show everything.
Note the password and IP then click click OK.
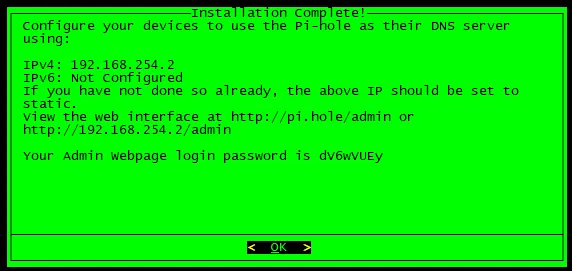
If you see the the web interface, it works! Login and set any special values you want.
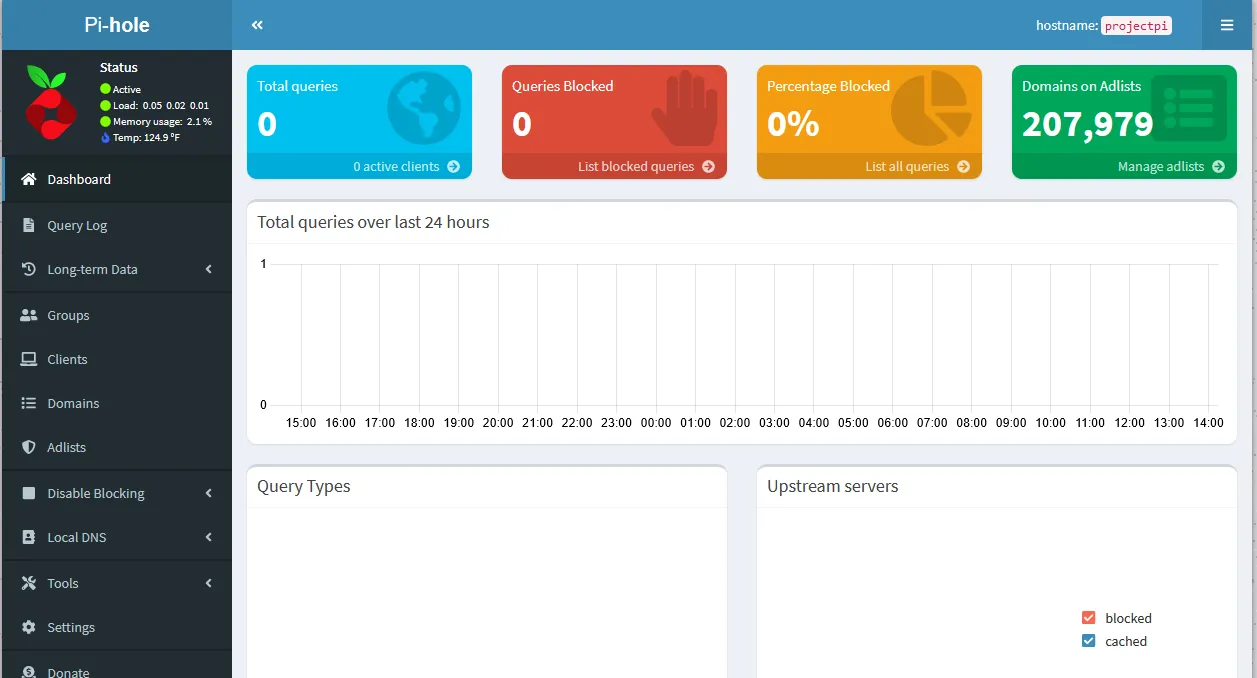
Change Pi-hole’s Password
You can change the Pi-Hole web interface password with the following command:
pihole -a -pEnter New Password (Blank for no password):Confirm Password: [✅] New password setSpecial Options
I personally set the some of the following options:
- Groups - group your clients into special rule groups.
- Clients (you will need to wait until devices start using the service before they show up)
- Domains - RegEx filters to always allow or block something.
- Adlists - More below on this.
- Local DNS - I give some of my internal sites a DNS name.
RegEx filters
I give my Wife’s iPhone some special permit RegEx filters.
I permit the following:
(^|\.)apple\.com$(^|\.)icloud\.com$
Adlists/Blocklists
Blocklists are an important part of the Pi-hole. They are the lists that help you filter ads, spam, botnets, malware, etc. This post covers the blocklist topic very well. I’ll give you a short overview from my perspective.
- Pick your blocklists wisely. This is the core of your network. Someone can inject all kinds of nasty problems if you pick poorly.
- Consider your “threat” model or what you wish to accomplish.
- Consider devices that live on your network. Some things don’t work properly or at all if you block domains they want. I have a payment app on my phone that errors out when I make a payment on my network.
- More is not always better. More lists is more problems. Learn how to troubleshoot DNS issues in the browser and on your PC.
- Don’t be afraid to Whitelist. My wife has an app on her phone she likes, I whitelist everything to do with it so I don’t have to hear about it.
Conclusions
That should about cover it. You next step is to start updating your clients. For things like IP phones and some network gear you can set option 42 in your DHCP server. This specifies servers that provide NTP/SNTP (RFC 1769) on the network.
You can likely get similar results with NTP and a RTC module. Here is a tutorial that looks like it covers all the points.
You can also build you own RTC.
Sources - Helpful Links - Geek Stuff
- Pi-hole docs
- (RFC 1769)
- build you own RTC.
- Whenever I have DNS related things I can’t remember I turn to BIND’s documentation.
- BIND blurb on DNS diagnostic tools.
- The Importance of DNS by DNS Made Easy (2:30 min)
- Neat video made by DNS Made Easy (6 min) that covers DNS basics.
This post is licensed under CC BY 4.0 by the author.
Related Posts
Building A NTP Server With Raspberry Pi and GPS
I'm introducing my youngest son to new things. Time keeping is always fun to geek out with because you can always get more precise. I thought this would…